Magewell USB capture devices appear as standard UVC video sources in OBS Studio-no obscure drivers, no "run as administrator" voodoo. This guide walks you through connecting your device and adding it as a source for streaming or recording, so you can get from unboxing to live in under ten minutes.
Prerequisites
You need a Magewell USB Capture device (e.g. USB Capture HDMI Gen 2), a USB 3.0 port, an HDMI source (camera, console, or PC), and OBS Studio installed. No extra drivers are required on Windows 10/11 or recent macOS-the device is plug-and-play. If your OS can see a webcam, it can see a Magewell. Have your HDMI source powered on and outputting a signal before you open OBS; that way the device can lock to the resolution and frame rate from the start.
Step 1: Connect the Device
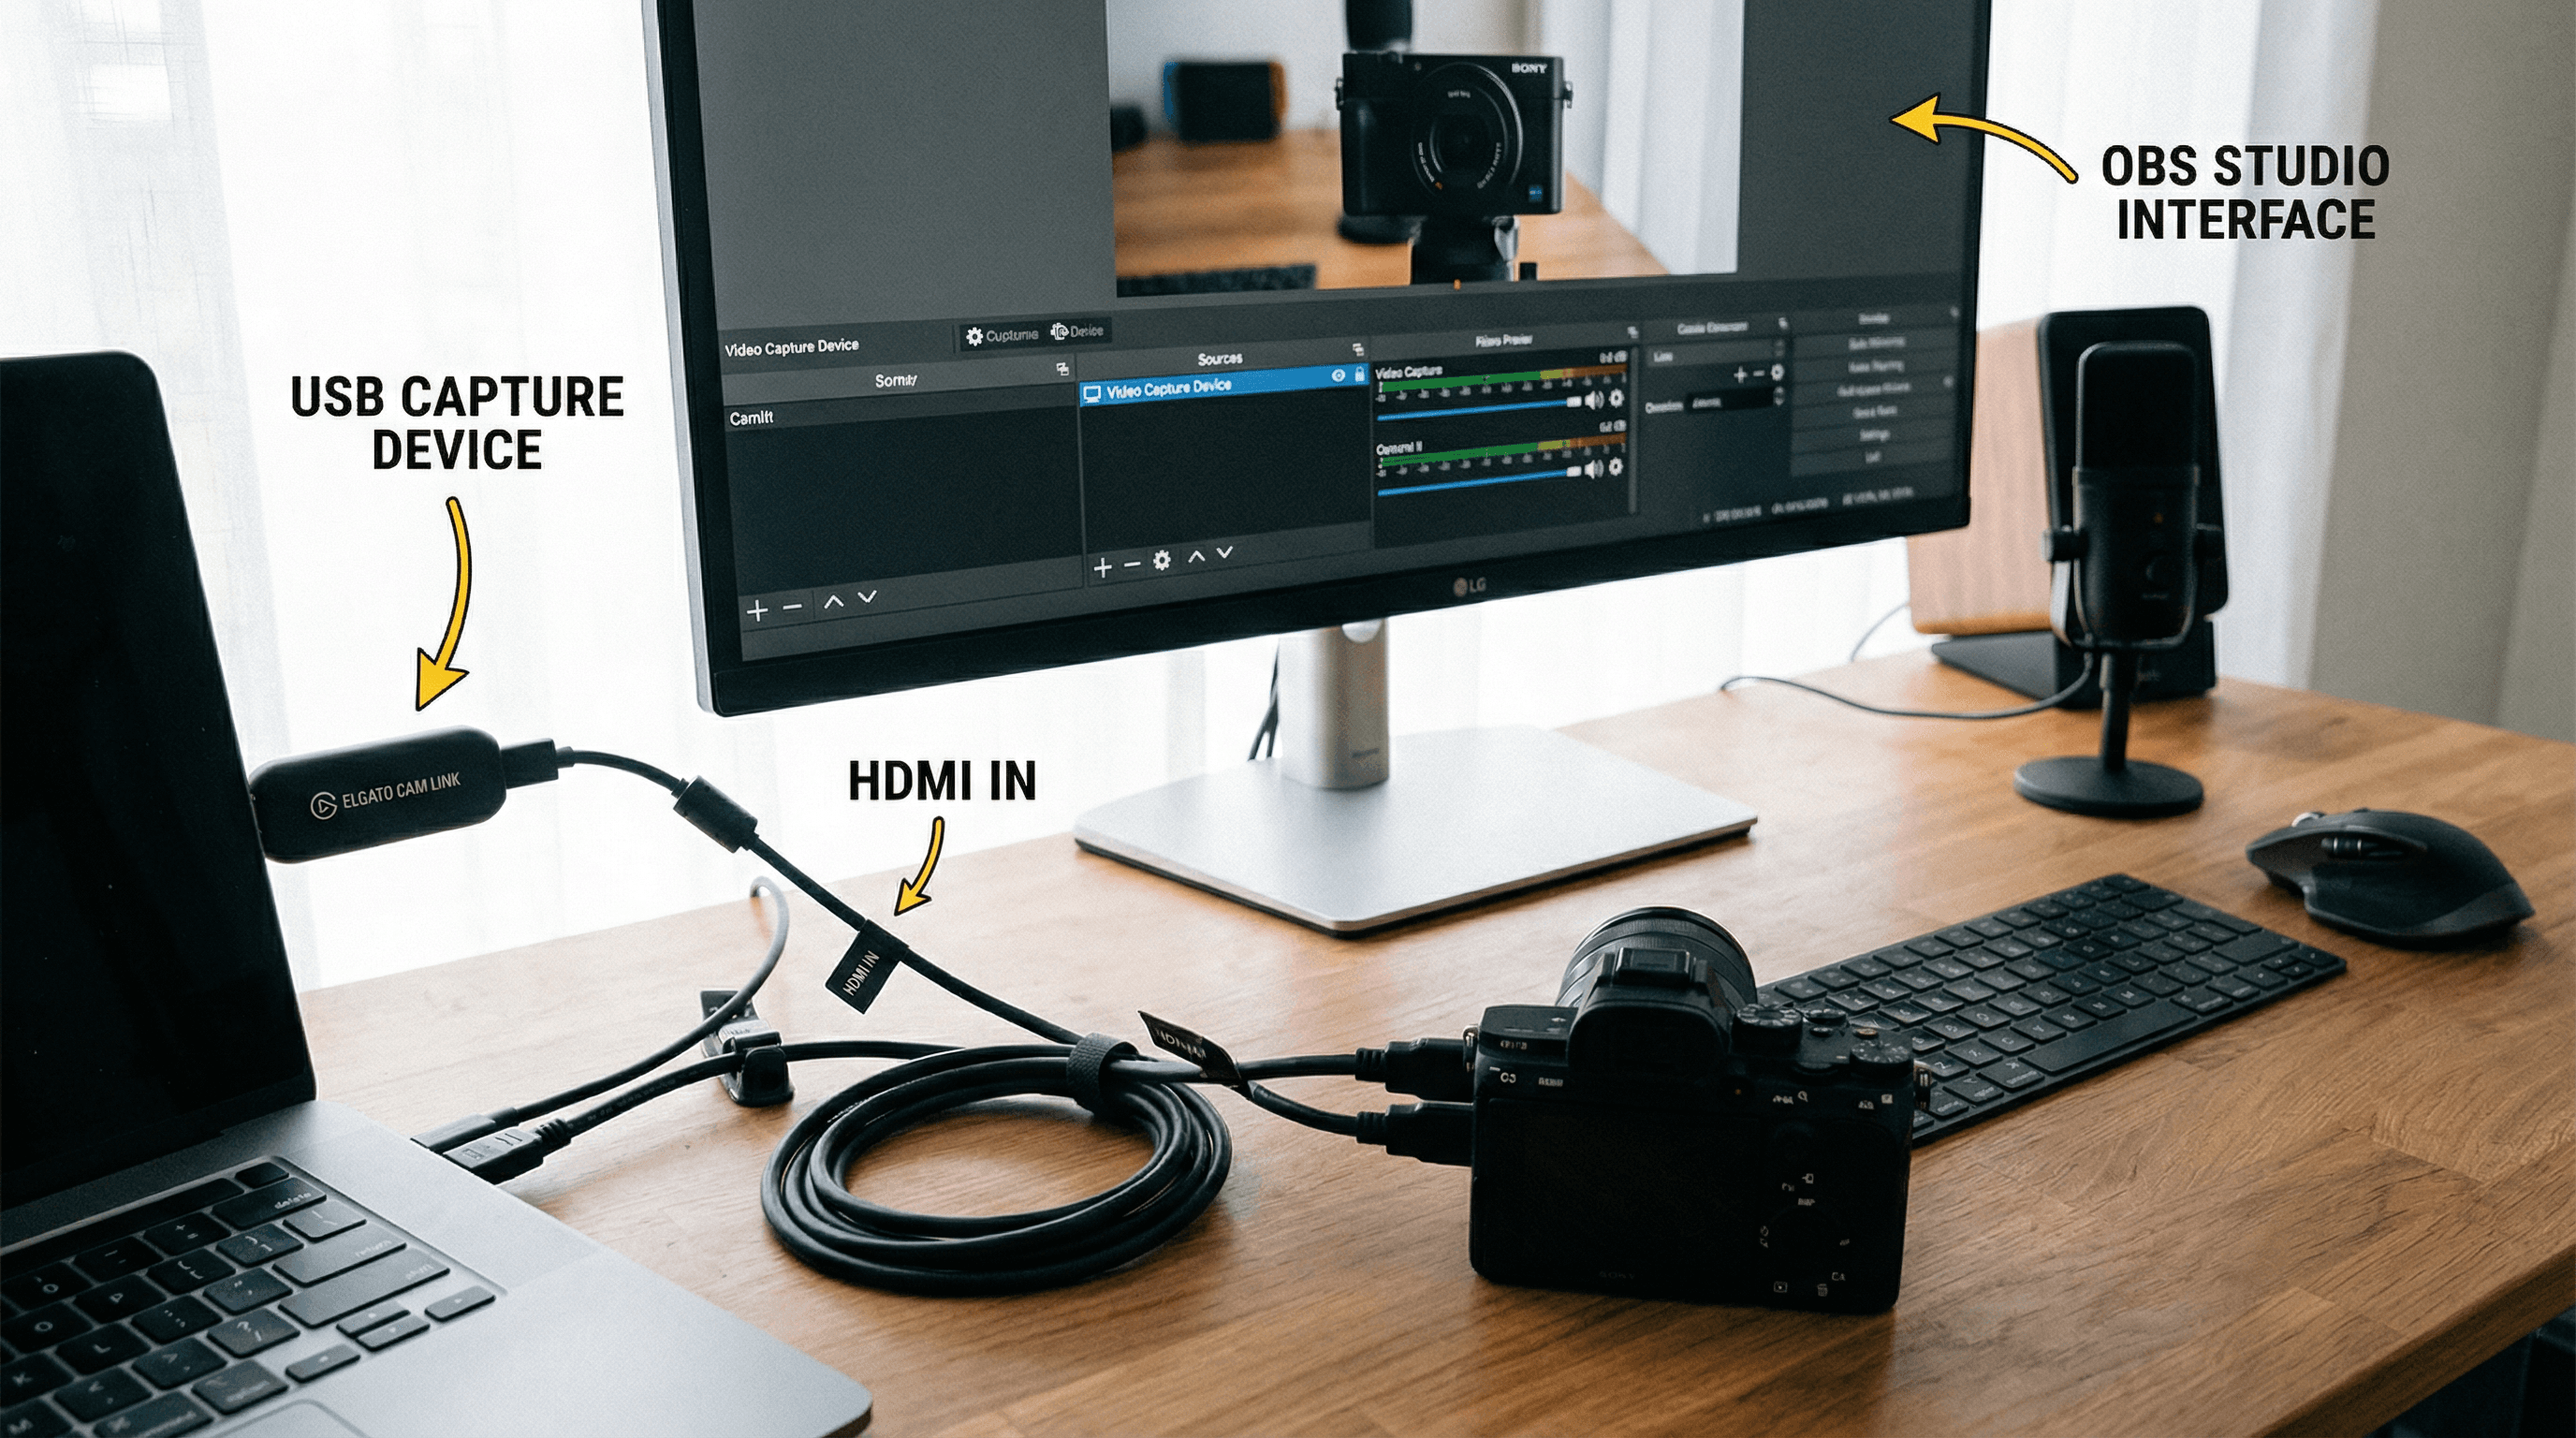
Plug the Magewell device into a USB 3.0 port-ideally directly on the PC or laptop, not through an unpowered hub. Connect your HDMI source to the device's HDMI input. Give the OS a few seconds to recognise the device. On Windows, you may see a notification; on Mac, it will appear as a camera in System Preferences. If you have a passthrough model, you can also connect your display to the device's HDMI output so you see the same feed on screen; otherwise your source will need to go to a display separately if you need to see it.
Step 2: Add a Source in OBS
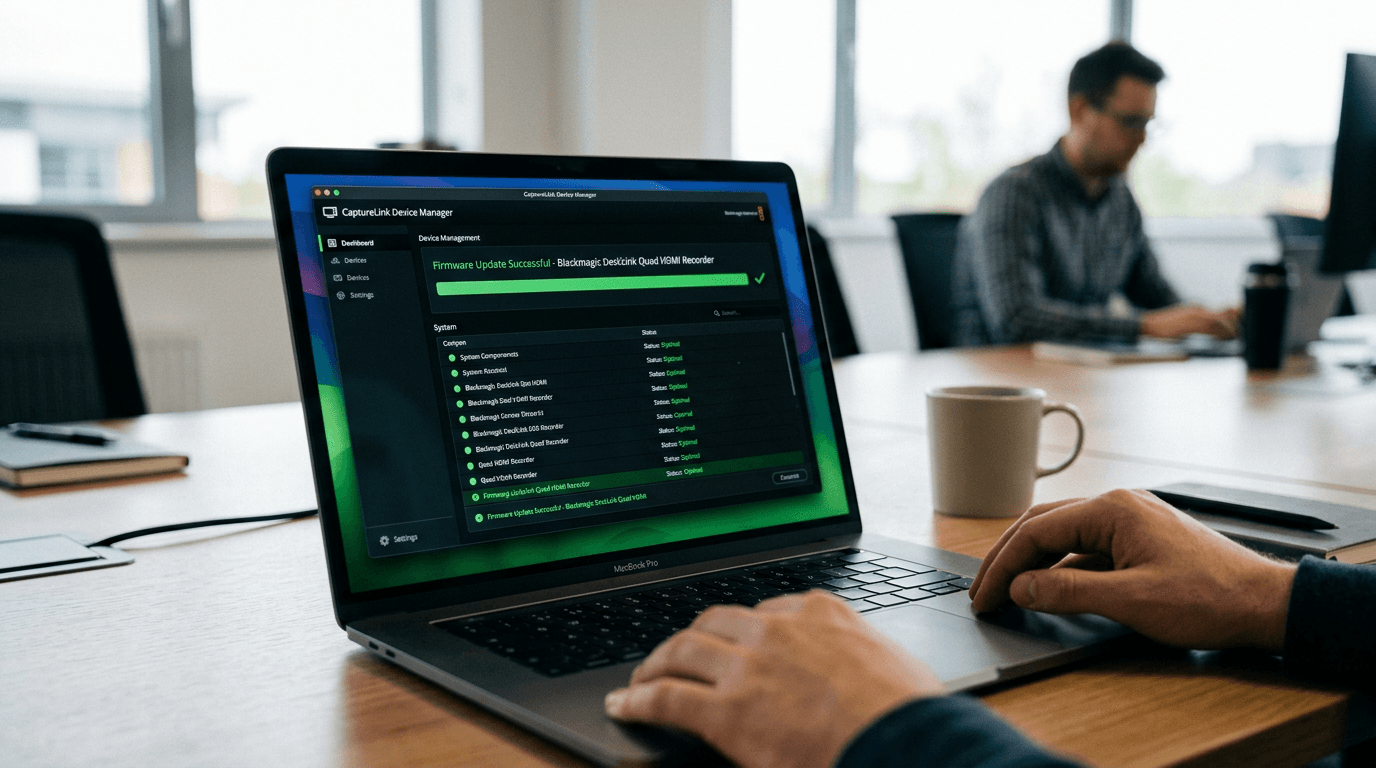
In OBS Studio, go to the Sources panel and click the + button. Choose Video Capture Device. Name the source (e.g. "Magewell HDMI" or "Face Cam") and click OK. In the properties window, set Device to your Magewell device-it may appear as "USB Capture", "Magewell USB Capture", or the product name. Leave resolution and frame rate on "Default" unless you have a specific need (e.g. 1080p60 for streaming). Click OK. Your HDMI feed should now appear in the OBS canvas. Resize or position it as needed; it's just another source.
If you're adding a second camera or a graphics feed, repeat the process: add another Video Capture Device source and select the second Magewell. OBS will list each device separately. Name them clearly so you don't mix them up when switching scenes.
Resolution, Frame Rate, and Audio
Most Magewell devices capture at the source's native resolution and frame rate (e.g. 1920×1080 @ 60fps). If your source is 1080p60, OBS will receive 1080p60. For streaming, you'll typically output at 1080p or 720p in OBS's output settings; the capture resolution can stay higher for quality, and OBS will scale. Audio is often handled separately (e.g. from a mixer or USB mic); if your HDMI source carries embedded audio and you want it, check the source properties for audio device options. Some setups use the Magewell for video only and route audio elsewhere-both are valid.
Troubleshooting
If the device doesn't appear in OBS, try another USB 3.0 port (avoid unpowered hubs). Restart OBS after connecting-sometimes the app needs to see the device at launch. On Windows, ensure no other application has exclusive use of the device (e.g. close other capture or conferencing apps). If the picture is black, confirm the HDMI source is on and outputting; try a different HDMI cable. For more help, see our Support page or contact us-we're used to walking through setup with streamers and producers.
Next Steps
Once the source is added, you can add more sources (e.g. a second Magewell for another camera), set up scenes, and configure streaming or recording. Browse our USB Capture range and Guides for more tutorials-and if you're building a multi-cam rig, we can help you choose the right devices for your setup.