USB capture cards work on Mac out of the box, with no drivers to install and no software beyond whatever application you are using for streaming or recording. This guide walks through setup in every major application and covers the Mac-specific things worth knowing before you buy.
Why Magewell works particularly well on Mac
Magewell USB capture devices use the UVC and UAC protocols — the same standards used by webcams. Apple builds full UVC support into every version of macOS back to 10.9. The moment you plug a Magewell device in, macOS recognises it as a camera and a microphone. Nothing to install. No security prompt asking you to approve a kernel extension. No compatibility issues after an OS update. It just works.
This matters because many competing capture cards require driver packages that create friction on Mac — either because they have not been updated for the latest macOS, because they require the user to approve a system extension in Security settings, or because they stop working after a major OS version bump. Magewell has none of these problems because there is no driver to break.
The supported Mac range is broad: macOS 10.9 and above, both Intel and Apple Silicon (M1, M2, M3, M4). If you are on a current Mac, every Magewell USB capture device will work without any compatibility concerns.
Connecting the hardware
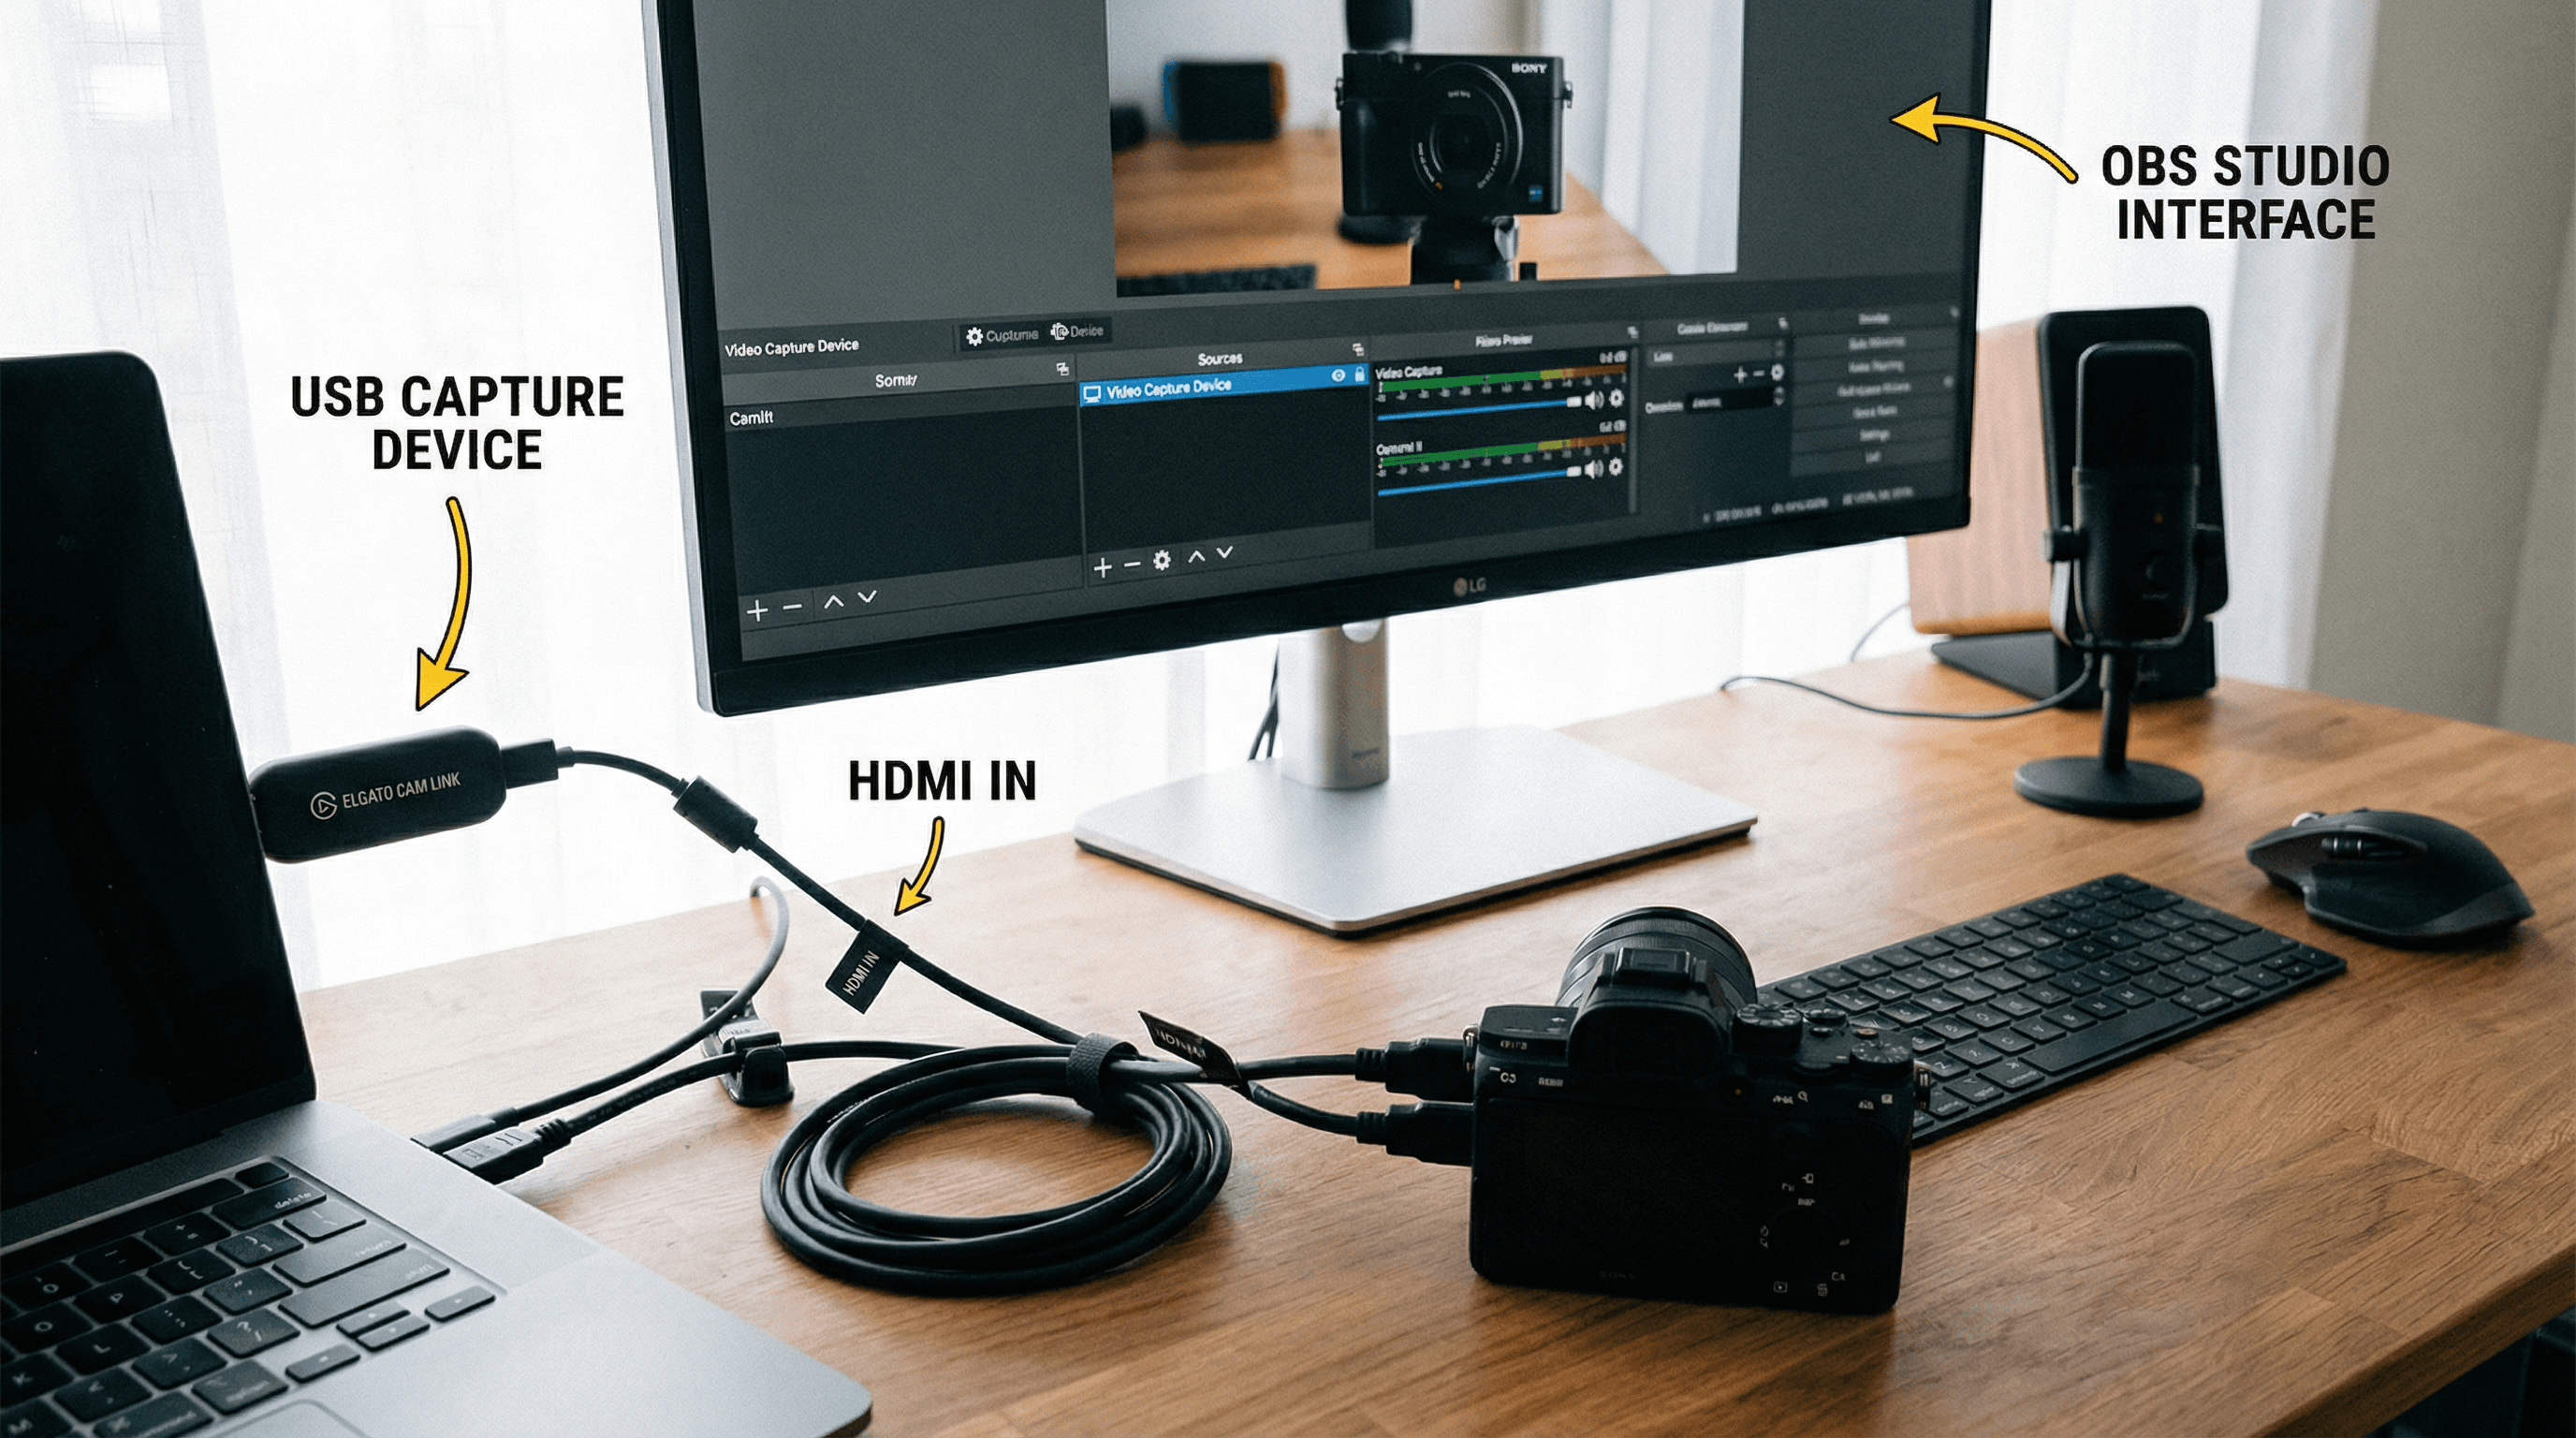
The physical setup is three steps. Connect an HDMI cable from your camera (or console, laptop, or other source) to the HDMI input on the capture device. Connect the capture device to your Mac with the included USB cable. Wait about five seconds for macOS to enumerate the device. That is it.
For a Mac with only USB-C ports, you need either the USB-C version of the capture device cable or a USB-A to USB-C adapter. The USB Capture HDMI Gen 2 ships with a USB 3.0 Type-A cable and a Type-C adapter, so no separate purchase is needed. If you are on a MacBook Pro, plug the device into a USB-A port via the included adapter or use a powered hub. Avoid bus-powered hubs without their own power supply for 4K devices, as they may not provide enough current.
If your capture device has an HDMI loop-through output — like the HDMI Plus or 4K Plus — connect your local monitor or TV to that output now. The loop-through is zero-latency and runs regardless of what the Mac is doing.
Setting up in OBS Studio
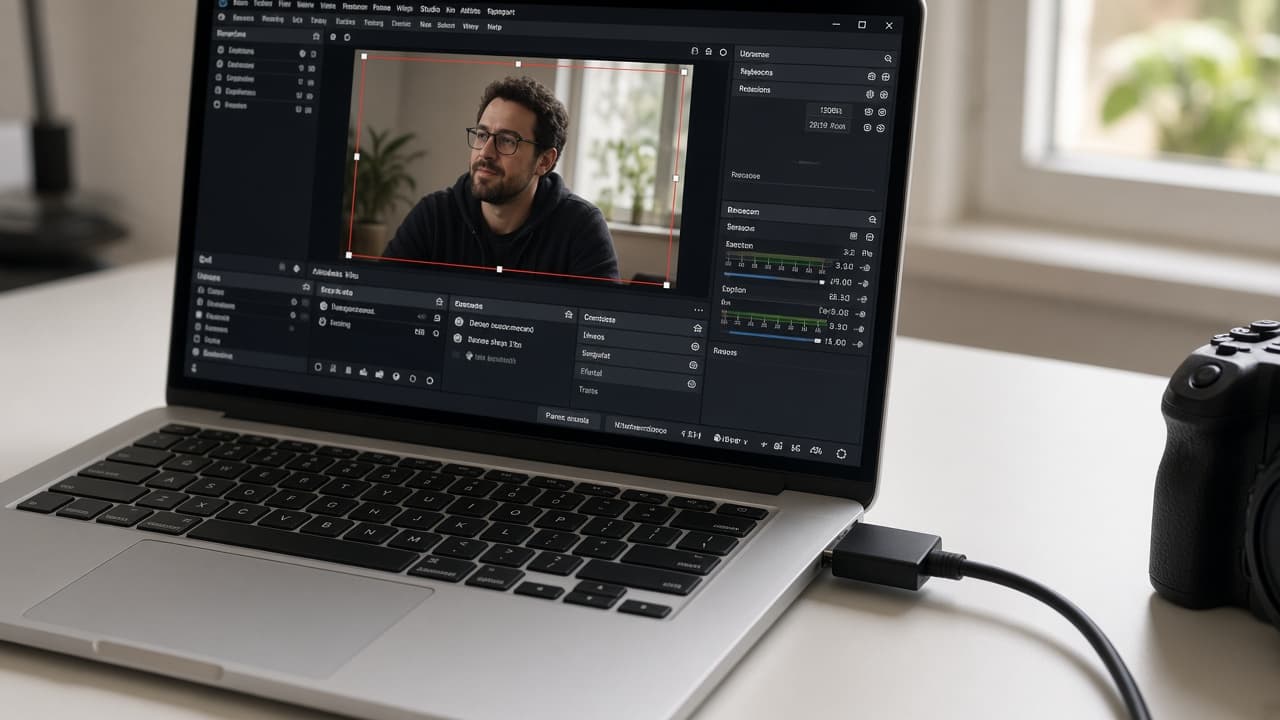
Open OBS Studio. In the Sources panel at the bottom, click the + button and select Video Capture Device. Give the source a name. In the properties window, open the Device dropdown — your Magewell capture device will appear by name (e.g. "USB Capture HDMI" or similar). Select it. Set the resolution and frame rate to match your source if they are not auto-detected correctly; for most cameras 1920x1080 at 60fps is the right starting point. Click OK.
The camera feed appears in your OBS canvas immediately. If you see a black screen, check that your HDMI source is on and outputting at a resolution the device supports. For the HDMI Gen 2, the maximum input is 1080p60; connecting a 4K source will show black unless you force the source to output at 1080p. For 4K capture, use the 4K Plus or 4K Pro.
Audio from the HDMI source is captured automatically as embedded audio. In OBS, the Magewell device appears as both a video source and an audio source. Add it as an Audio Input Capture source if you want to mix the HDMI-embedded audio separately from other sources.
Recording directly in QuickTime
For simple recording without a full streaming application, QuickTime Player works natively. Open QuickTime and choose File → New Movie Recording. Click the dropdown arrow next to the record button and select your Magewell device from the camera list. The live feed appears immediately. Press Record to start.
QuickTime records to a MOV file at the resolution and frame rate the capture device is delivering. This is useful for quick recordings of a camera feed, a console output, or a second computer's screen without any additional software. The output quality is uncompressed or lightly compressed depending on your Mac's codec support — perfectly suitable for archiving or as a source for post-production editing.
Using a capture device in Zoom and Teams
Both Zoom and Microsoft Teams on Mac support USB capture devices natively. In Zoom, open Preferences → Video and select the Magewell device from the Camera dropdown. The camera feed replaces your built-in webcam immediately. In Microsoft Teams, go to Settings → Devices and choose the device from the Camera selector.
This is particularly useful for bringing professional cameras, document cameras, or room displays into calls. A USB Capture HDMI Gen 2 connected to a Sony or Canon mirrorless camera gives you a dramatically better image than any built-in webcam. The camera's autofocus, image stabilisation, and lens quality all come through cleanly.
If you want to send a composed multi-source scene into Zoom or Teams — for example, a camera mixed with slides — use OBS's built-in Virtual Camera. Enable it under Tools → Virtual Camera, then select "OBS Virtual Camera" as your camera in Zoom or Teams. This routes the OBS output into the call as a single camera source.
Which Magewell device for Mac?
For video calls and streaming at 1080p: USB Capture HDMI Gen 2 (£231.05 ex VAT). Compact, bus-powered, plugs straight into any USB-C port with the included adapter. The most popular choice for Mac users wanting a professional camera on calls.
For streaming with a local monitor: USB Capture HDMI Plus (£287 ex VAT). Adds an HDMI loop-through so you can see your camera feed locally while OBS captures it. Useful for streamers who want to see what they look like on a separate screen.
For 4K capture and streaming: USB Capture HDMI 4K Plus (£385.65 ex VAT). Captures 4K60 over USB 3.0. Works on any Mac with a USB 3.0 port — no Thunderbolt required.
For broadcast SDI cameras on Mac: USB Capture SDI Gen 2 (£233.33 ex VAT). If your camera has a BNC SDI output, this is the driver-free Mac solution. Supports cable runs up to 150m.
All Magewell devices are stocked in the UK by StreamKit, an authorised reseller. Next-day delivery available. See the full USB capture comparison guide or contact us if you need help choosing.